The first thing a 3D artist asks is "what do you have?". The answer decides how accurate the model will be and how many questions will come up along the way. The good news: you can almost always start with what you already have — what matters is knowing what those materials are missing.
Shape and appearance come from different sources
Source materials answer two different questions: what shape and size the product is and what it looks like. Few sources cover both, so they almost always have to be gathered from several places.
What each source gives you
| Source | Shape and size | Appearance | Keep in mind |
|---|---|---|---|
| CAD model (STEP, SolidWorks, Inventor, KOMPAS) | exact | barely | The most accurate start. Colors and textures in CAD are usually placeholders |
| Dimensioned drawings (PDF, DWG) | exact | no | All views are needed, plus sections of complex areas |
| Physical sample | exact, if measured | yes | The best source for materials and small details |
| Photos | approximate | partly | Color in photos is skewed by light and the camera |
| Model from Archicad, SketchUp, Revit | yes | usually not | Geometry is there; materials and furnishing have to be made |
What matters most for an exact shape
If you have a CAD model, send it in the native format or as STEP, a universal exchange format that keeps exact surfaces. A PDF drawing is a step back by comparison: the model is rebuilt from it, and every missing dimension becomes a question.
It's fine if the CAD model has everything, down to the screws inside the housing: the 3D artist will remove what isn't needed. But say what has to be visible — for example, whether you need a cutaway or an exploded view.
Drawings without 3D work too, as long as they have dimensions and complex areas (fillets, ribs, holes) are shown in separate views or sections.
If there are no drawings
The model can be built from a physical sample or from photos. A sample is better: it can be measured and looked at from any angle. With photos, a tape measure must be in the frame, in the plane of the product, or dimensions have to be guessed from proportions. How to shoot is covered in detail in How to photograph a product for 3D modeling.
What's needed for appearance
- Color: a RAL or Pantone code, or better, a physical sample of the finish. Photos are unreliable for color: the same product looks different in two shots. More in How to specify color and material.
- Texture and gloss: matte, glossy, textured, fabric — close-up photos of the surface in daylight.
- Logos and lettering: as vector files (SVG, PDF, AI), not screenshots.
- Variants: a list of colors and configurations if there are several. Then the model is built so variants can be switched, not redrawn.
Say where the result will be used
This isn't a source material, but without it the sources can't be read correctly. A model for a large catalog render, for a marketplace listing and for viewing in a phone browser needs different levels of detail. Extra detail slows a web model down; missing detail shows immediately in a close-up.
What it looks like in practice
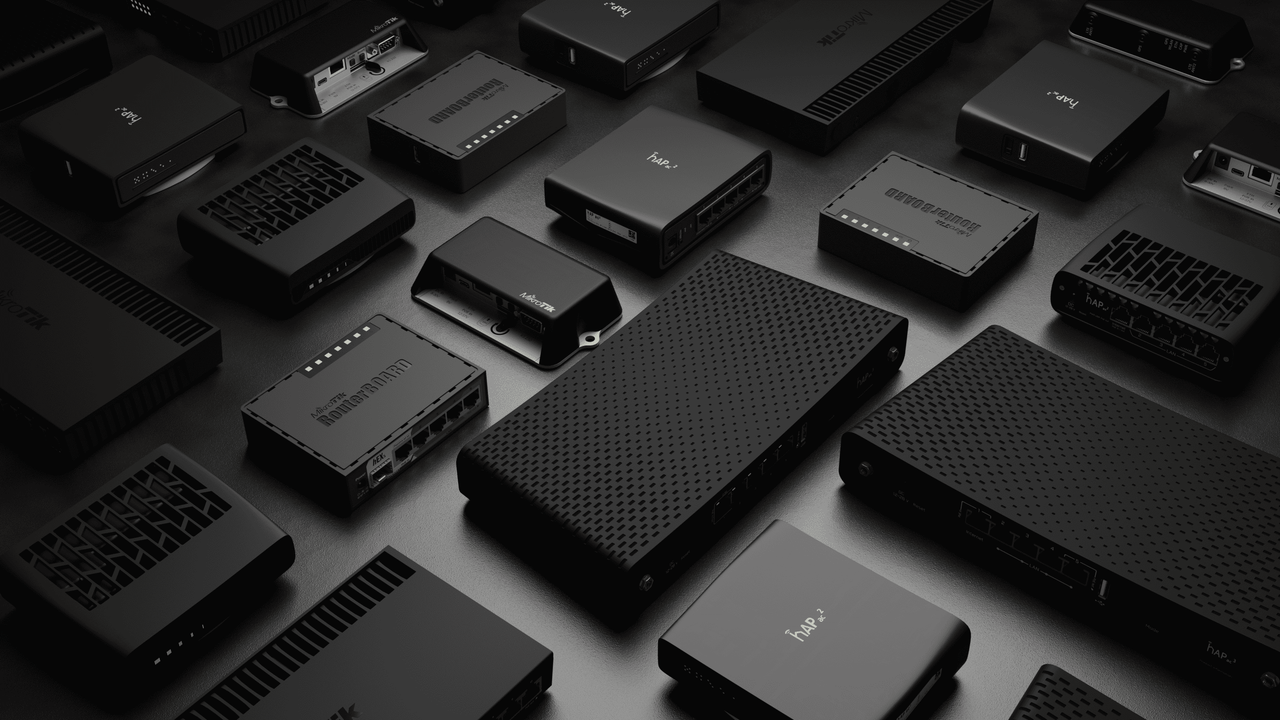
- Getic: the sources were drawings, dimensions and photos of real devices — the basis for more than 50 network equipment models viewed right on the product page.
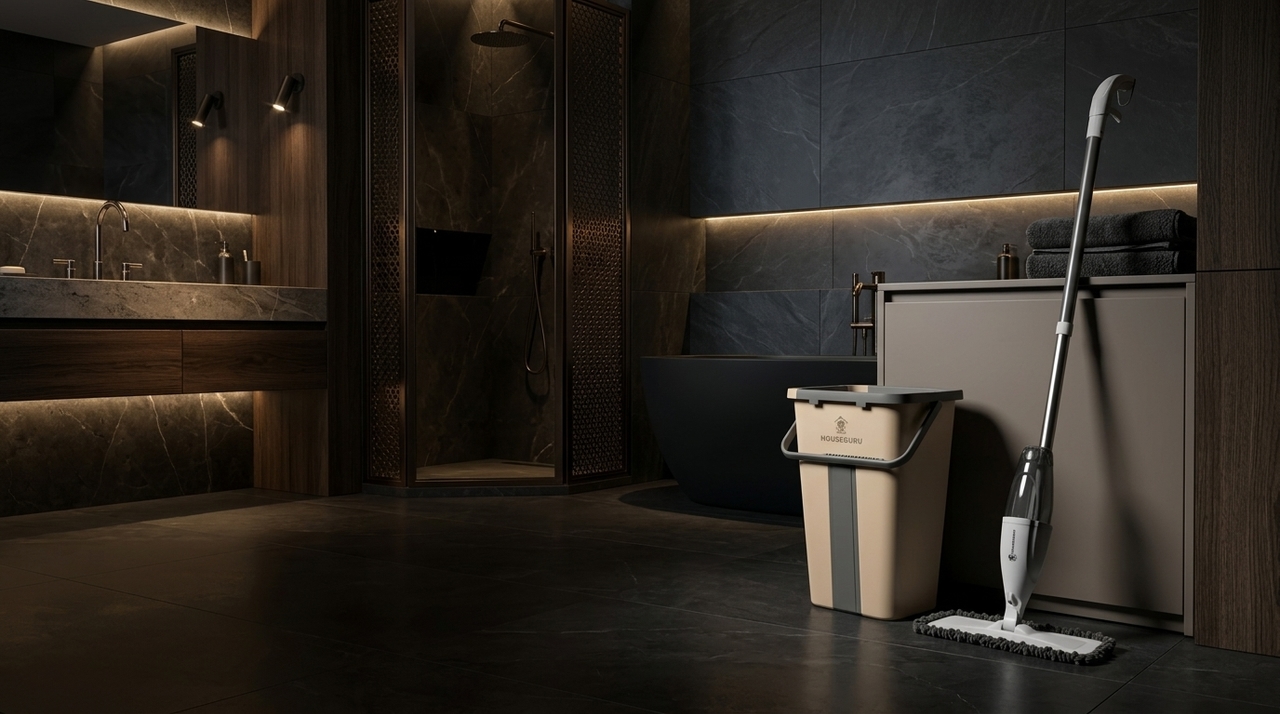
- HouseGuru: there were no drawings; the models were built from physical product samples.
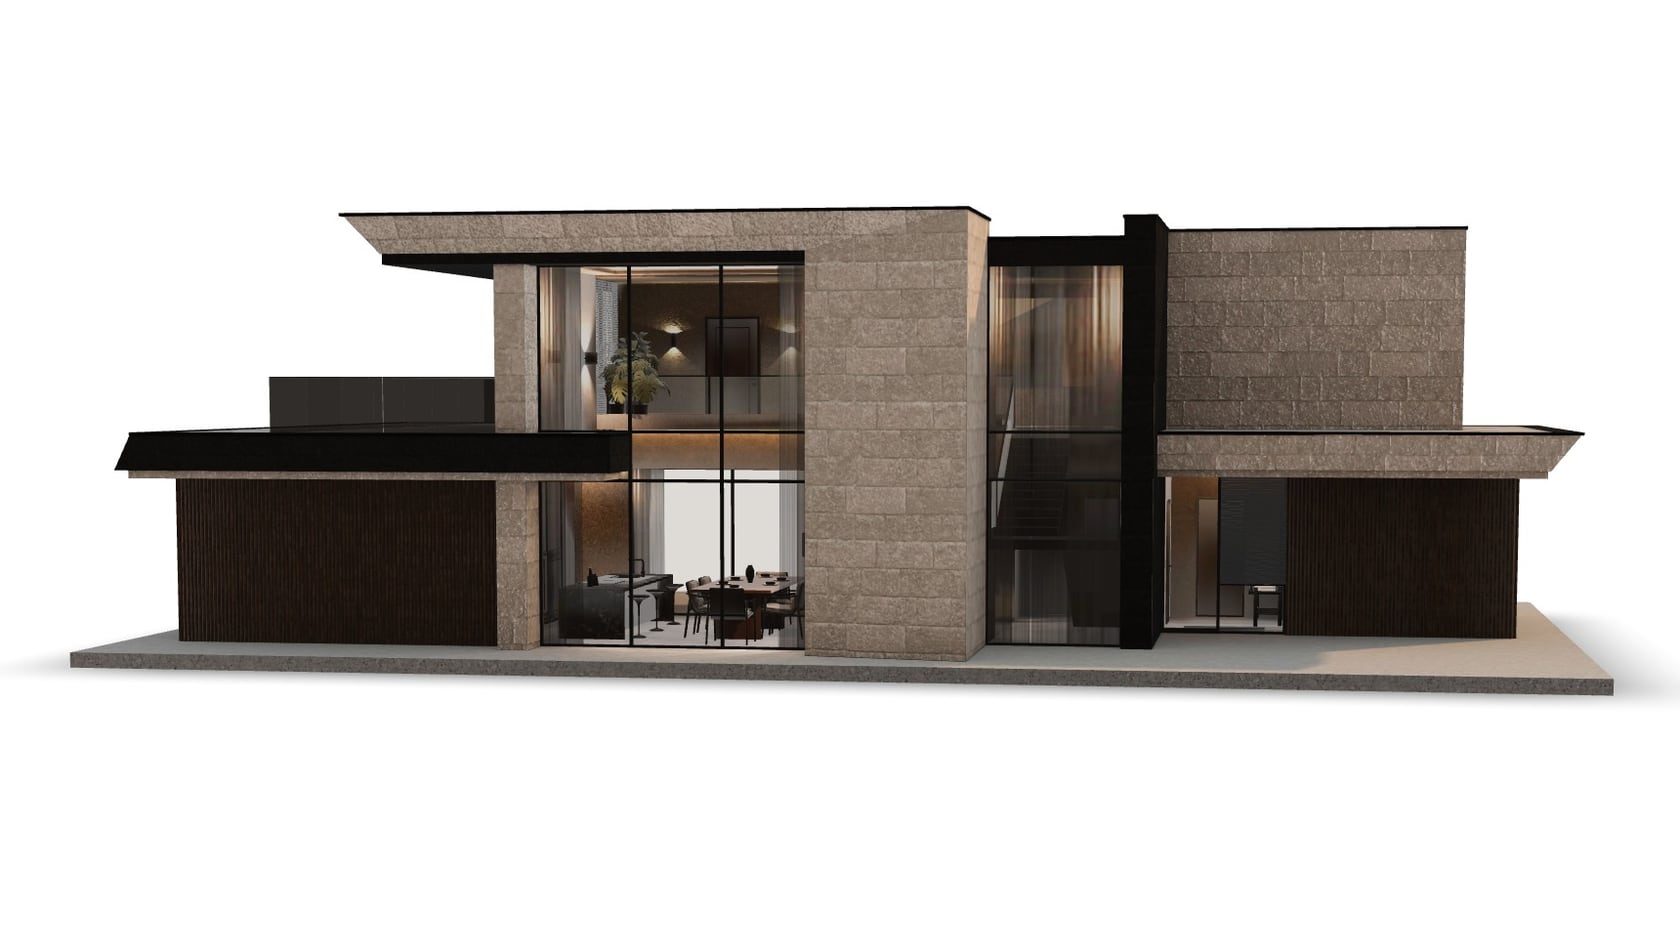
- Hilbert: the input was OBJ and MTL exports from Archicad — clean building geometry without materials or interiors. Materials, furnishing and AR optimization had to be done separately.
Common mistakes
- Sending only marketing photos from the website: they are retouched, shot in perspective and don't show the sides or back.
- Describing color in words, like "dark gray": everyone pictures a different one.
- Not mentioning variants upfront: a model built for one color and one configuration is harder to turn into a series.
- Not saying where the result will be used: the model ends up either too heavy for the web or too simple for a close-up.
Checklist
- Shape: a CAD model (STEP or native format) or dimensioned drawings or a sample.
- Appearance: photos from all sides, a color code or finish sample, close-ups of the texture.
- Logos and lettering as vector files.
- A list of color and configuration variants.
- Where the result will be used and how large the product will be in the frame.
- Examples of images you like the style of — yours or anyone else's.